The Long Exposure Photo Dare: Paint With Light and Time
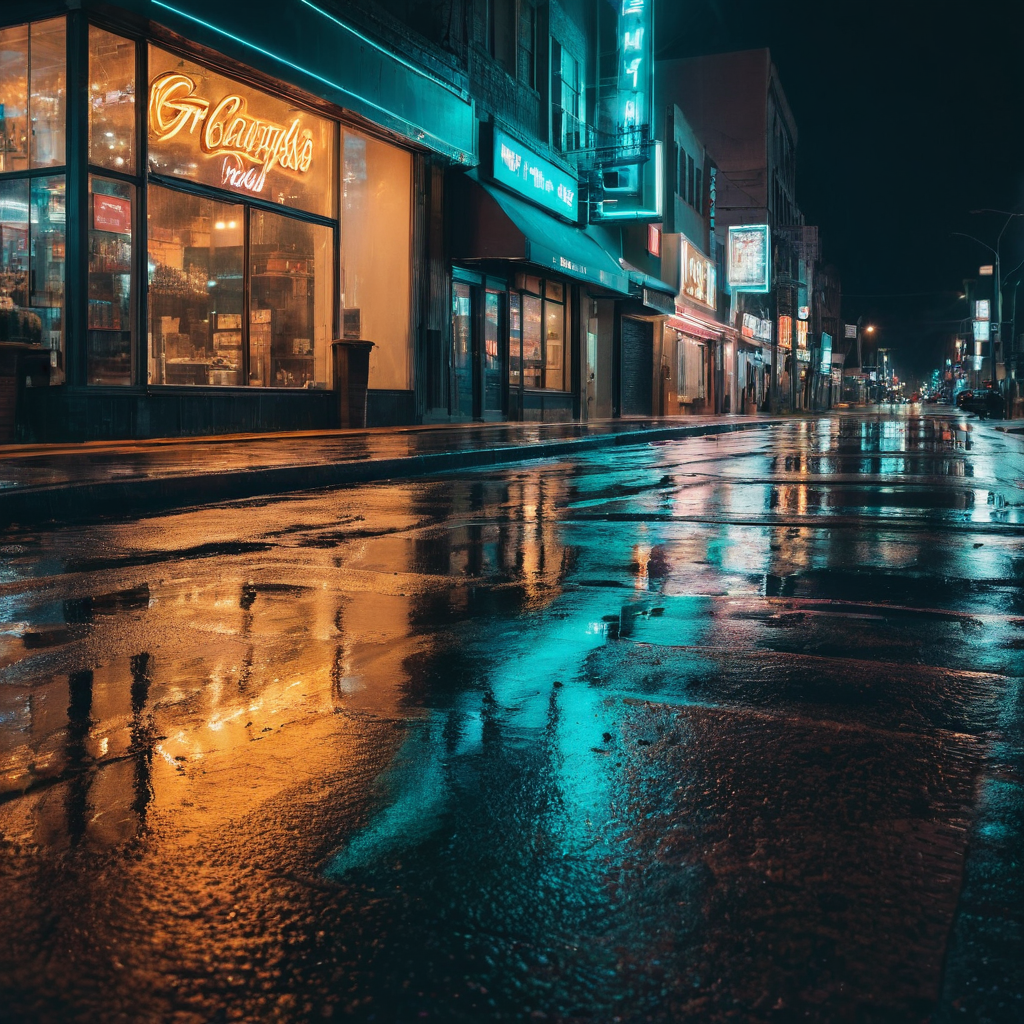
Most photo dares are about what you point the camera at. This one is about time — the one ingredient a normal snapshot never gets to use. Long exposure is how you turn a boring street into ribbons of light and a busy station into a room full of ghosts.
Here's the dare: take three long exposures — one light trail, one moving person or object, and one still-water or reflection shot. No fancy camera required. A phone with a "long exposure" or "night mode" setting and something to rest it on is genuinely enough.
Why this dare is worth your evening
Long exposure teaches you things no other technique does. You learn to plan a frame before you press the shutter, you learn patience, and you learn that a photo is a slice of time you get to design. It's also the most reliably impressive thing you can show someone — light trails look like magic and they're honestly not hard.
The catch: it is unforgiving. Any camera shake ruins the frame, so the whole dare is a lesson in locking things down and waiting for the right moment.
The settings, in plain language
You want a long shutter speed — usually somewhere between 2 seconds and 30 seconds — with a low ISO and a small aperture so the shot doesn't blow out.
- Phone: use "Long Exposure" (iPhone, via Live Photos) or "Pro/Light Trail" mode on Android. Third-party camera apps with manual shutter control give you far more range. Rest the phone on a wall, a bag, a railing — anything solid.
- Camera: manual mode, ISO 100, aperture f/8–f/16, shutter 2–30 seconds. Start at 4 seconds and work up. Shoot in RAW if you can.
- Shutter release: use a 2-second timer or a remote. Pressing the button by hand moves the camera — that's the number one reason long exposures fail.
- Focus: set it manually before you start, then don't touch the lens. Autofocus in the dark hunts and gives up.
If your shot comes out too bright at 10 seconds, stop down the aperture or drop the ISO — don't shorten the shutter, because the trail is the point.
Where to shoot it
- A road at night. Stand safely on a pavement or bridge, frame the road, and let cars paint the light trails. Red tail-lights going away from you, white headlights coming toward you.
- A bus or train station. People moving through a long exposure become soft blurs and ghosts while the architecture stays razor sharp. That contrast is the whole image.
- A fountain, river or shoreline. Long exposure smooths moving water into mist. Two to eight seconds is usually the sweet spot.
- A fairground or market at dusk. Moving rides and crowds give you colour smears and motion streaks.
- Indoors, with a torch. "Light painting" — wave a phone torch or a sparkler in front of a dark frame during a 10-second exposure. Draw a shape, write a word, make a spiral.
- Your own street. Honestly, the pavement outside your house at 9pm works fine.
The 3-shot challenge
- Shot 1 — Light trail. Vehicles, torches, fairy lights, anything that moves and glows. Keep the horizon level and get something static in the frame for contrast — a lamp post, a wall, a sign.
- Shot 2 — Ghost. A moving person or object rendered as a blur in an otherwise sharp scene. Busy concourse, escalator, a friend walking through a doorway. Ask permission if it's a stranger.
- Shot 3 — Silky water or reflection. Fountain, stream, wet pavement after rain, a still puddle at night. This one rewards patience: the smoothest result comes from the longest exposure your light allows.
Post all three. Shot 2 is the one that will surprise you — a person who is a smear of colour in a crisp room reads as a story, not a mistake.
Safety and etiquette (please read this bit)
Long exposures mean standing still in the dark, often near traffic. A few rules that matter more than any setting:
- Never stand in the road. Use a pavement, a bridge, a pedestrian island. Frame the traffic, don't join it.
- Be visible. Light clothing or a reflective jacket if you're anywhere near moving vehicles.
- Don't block people. In stations and busy streets, find a spot out of the flow, set up, and stay put. Tripods are a hazard to everyone else.
- Ask before you photograph faces. A blurred stranger in the background is usually fine; a close-up portrait is not. If in doubt, ask.
- Keep your gear close. In the dark, a camera bag on the ground is easy to forget. It happens to everyone once.
Gear notes
- A tripod is the whole game. A cheap mini tripod or a flexible one that grips a railing is enough, and it's the single best photography purchase you can make for this kind of work.
- A shutter remote or timer — free on almost every phone and camera.
- A small torch so you can see your settings without lighting up the frame.
- A lens cloth. Night shooting in damp air fogs the lens fast.
If you're building a kit, the [gear picks on our shop page](/#shop) cover the basics without the upsell nonsense.
One honest tip before you go
The shot that works is the one you take five times. Long exposure is a numbers game: the first frame will be shaky, the second will be overexposed, and the fifth will be the one you keep. Give yourself an hour, not ten minutes, and don't be precious about deleting the failures.
Take the dare. Then drop your three shots in the gallery — the best light trail this week gets pinned to the hall of fame. 📷
📸 DarePicz hall of fame
Shot this dare? Upload your photo and see it in the community gallery.
📸 Gear for your next photo dare
Pick up some prompting cards and a starter kit to make your dares pop. Supporting links keep DarePicz free.